Halo Smart Sensors Integration:
Mapping cameras to Halo sensor events
Effective video verification depends on accurately linking your cameras to your sensors. This guide provides the step-by-step process for mapping cameras to ensure that when an event is triggered, the correct video feed is available for review.
Prerequisites & Permissions
-
User Capability: You must have the ENVR Admin capability assigned to your role to modify device settings and camera mappings.
Key Concept: Mapping by Event Type
It is important to understand that cameras are linked to specific detection events, not to the sensor hardware itself. This means a single sensor can trigger different cameras depending on what it detects. This flexibility allows you to prioritize the best camera angle for the specific type of threat detected.
Step-by-Step Mapping Process
1. Access Sensor Settings
- Navigate to your specific site in the Envysion application.
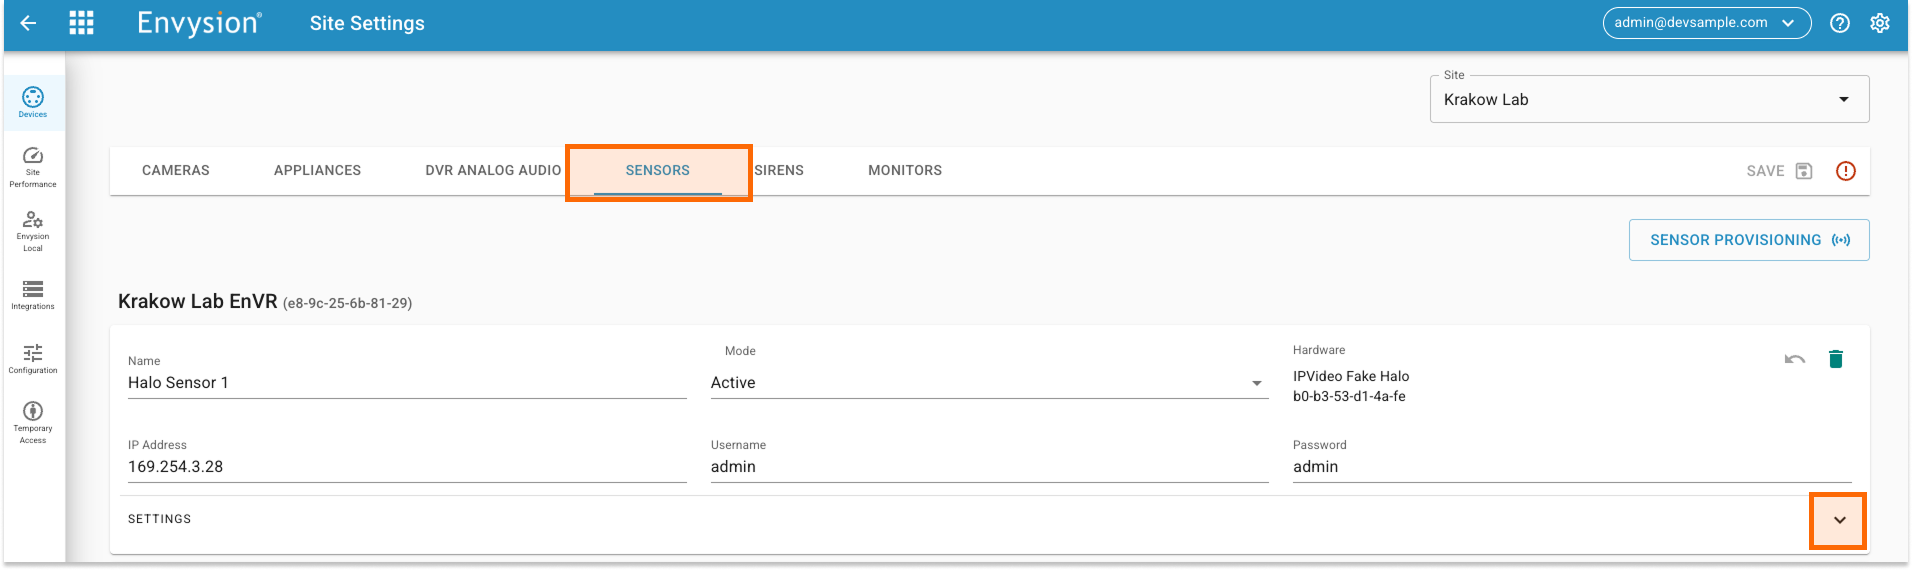
- Open Devices Settings and click on the Sensors tab.
- Locate the sensor you wish to configure and open its individual Settings tab.
2. Configure Camera Mapping
- Choose the specific event type (e.g., Vaping, Aggression, Gunshot) you want to map.
- Click the CAMERA MAPPING button.
- Select the cameras that should be associated with that specific event type.
- Click SAVE.

3. Finalize Changes
- Repeat the process for any additional events.
- Once all individual events are configured, click the primary SAVE button.
- Review the summary dialog box and click SUBMIT to push the changes live.
 Tip: Refer to the “HALO _ Camera Mapping Best Practices” documentation to determine which camera angles provide the most useful context for verification