Clips:
Save a Clip
With the Save Clip feature, you can save a clip from either live or recorded video. This is helpful when you’re watching live video and see something of interest and want to save it without all the button clicks required to start up a recorded video search. Follow the steps below to learn more.
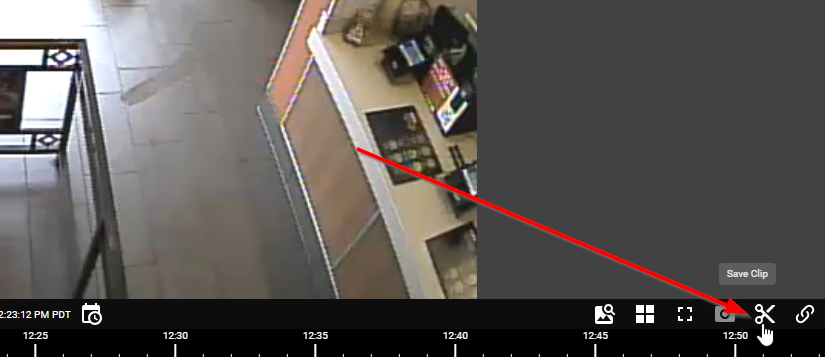
1. While watching video from any camera, in single or multiple layout, if you see something that needs to be saved, choose the “Save Clip” scissors icon, located on the toolbar in the lower right of your screen.
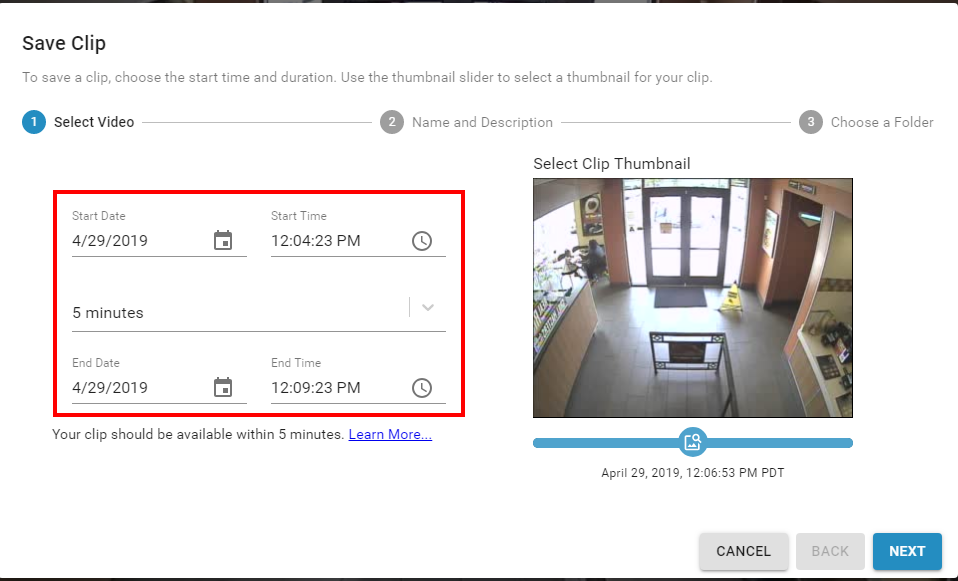
2. Edit your start date by clicking on the calendar icon, and the time by clicking on the clock icon or choose a preset duration. You can also edit your end date and time by clicking on the clock.
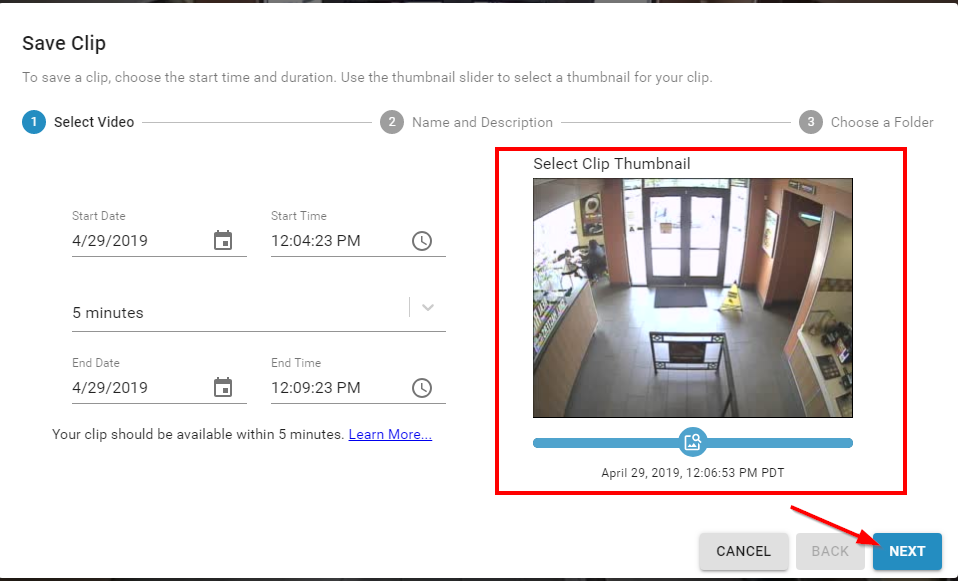
3. Select a Thumbnail that best represents the nature of your video clip by clicking and dragging the blue icon under the thumbnail image that is shown. Click “Next.”
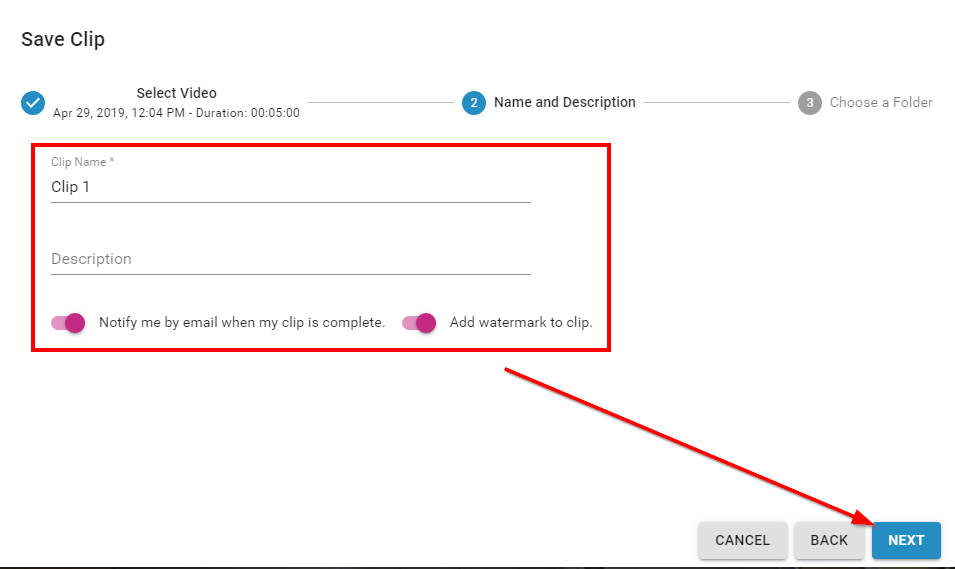
4. Name your clip and if desired, provide a description of your clip.
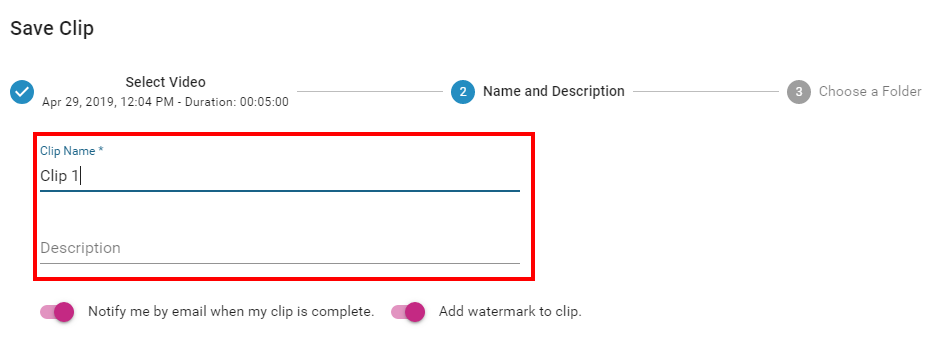
5. You will be notified by email when your clip is complete, and a watermark will be added to your clip. These default options can be turned off by clicking the indicator that precedes each. Click on “Next”.
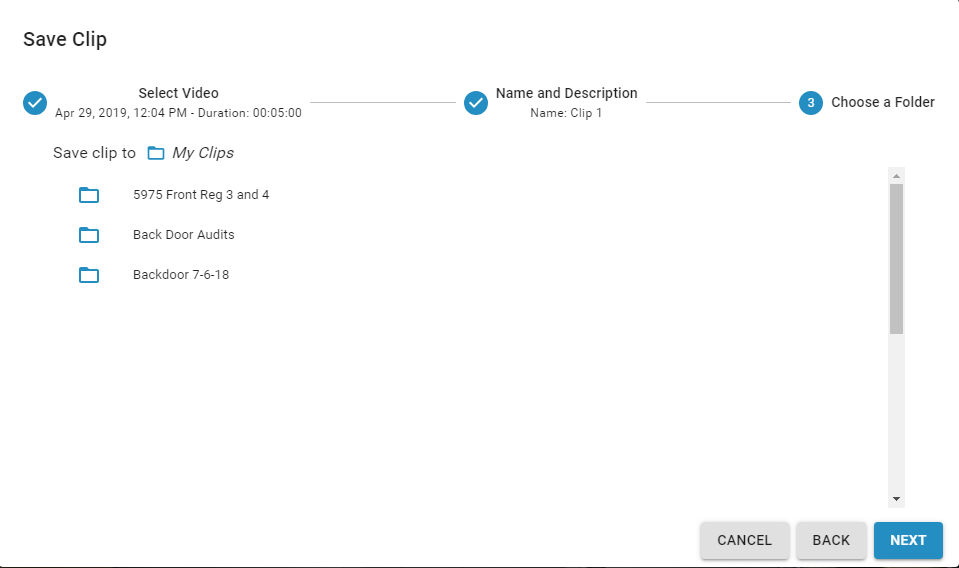
6. If desired, choose a specific folder for your clip. If you do not choose a specific folder, it will be saved to your primary Clips folder.
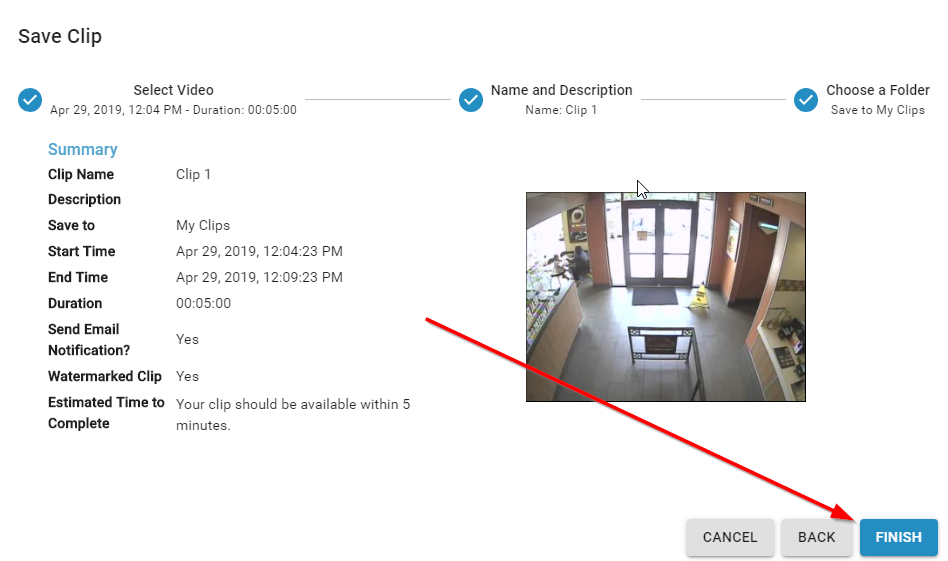
7. Click on “Next” and then “Finish”.
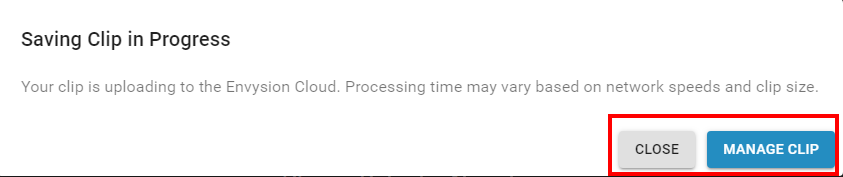
8. You can close the clip request, and continue on in the application while your clip processes or you can choose to manage your clip, which will take you immediately to “Clips”.
9. While the clip is processing, you can move the clip to a different folder, delete the clip, or edit the clip’s name or the clip’s description by clicking the appropriate icon.
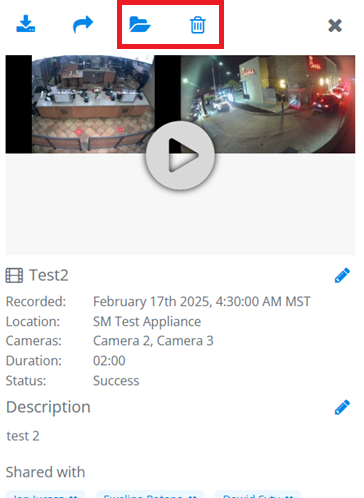
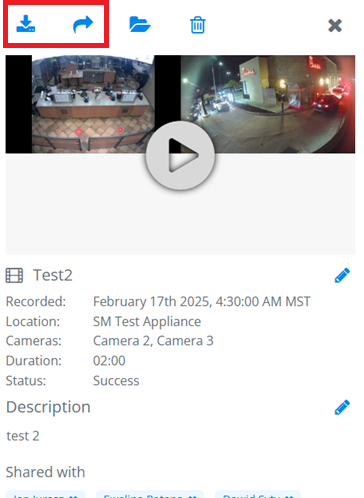
10. Once the clip has finished processing, you can also download the clip to your computer or a drive of your choice, or you can share the clip.