LTE-M Panic Buttons:
Configuring the Panic Buttons – Setting up the emergency contacts
Once the panic button is provisioned to your site, there are a couple of steps to follow, in order for the Panic Button to be ready for use. The first thing you need to do is to set up the emergency contact. You can do this by following the steps described below.
Any panic alarm will be reported or confirmed (depending on the workflow that was selected) with a designated emergency contact from your site. You can set up to three emergency contacts that will be contacted in the order you chose. To do this you have to navigate to the “Alarm Configuration” page on the “Security” page found in the left side navigation drawer (1).

On the “Alarm configuration” page, select the Panic Alarms configuration page, by clicking on the “Panic Alarms” tab (1).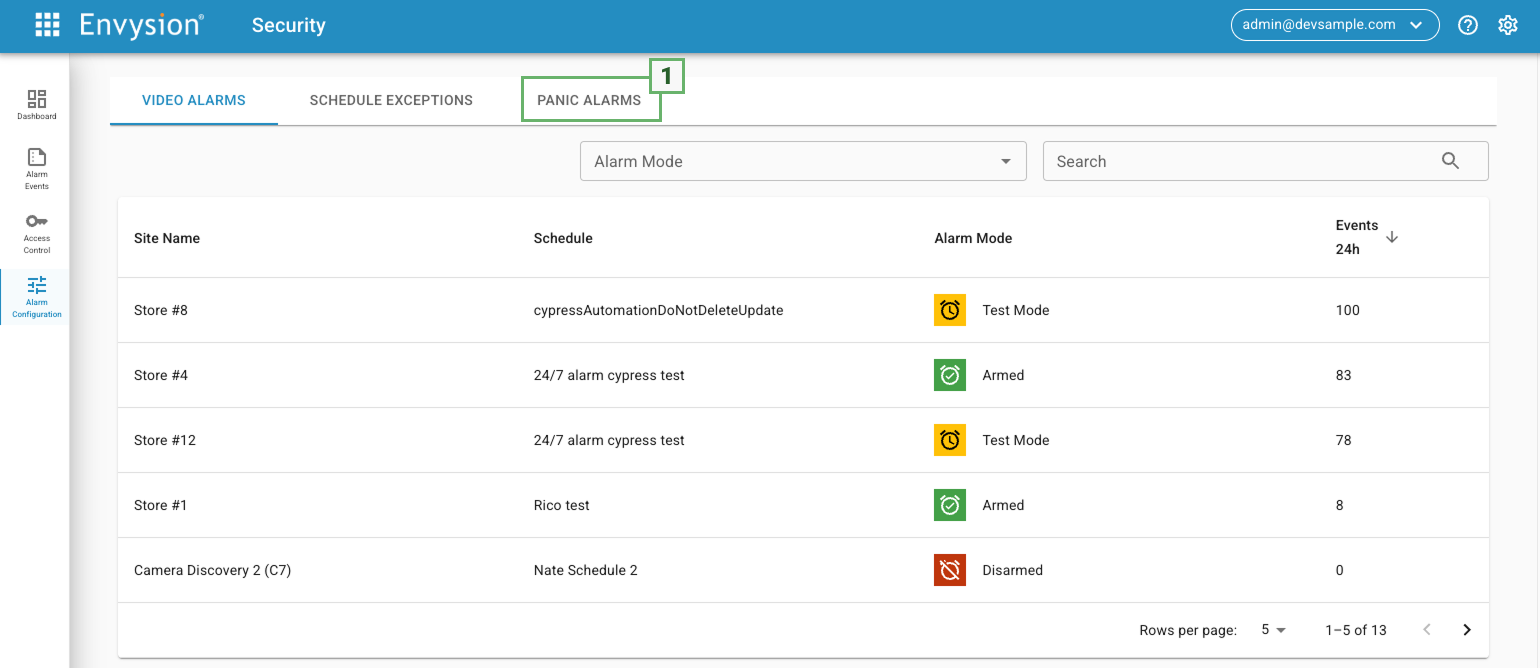
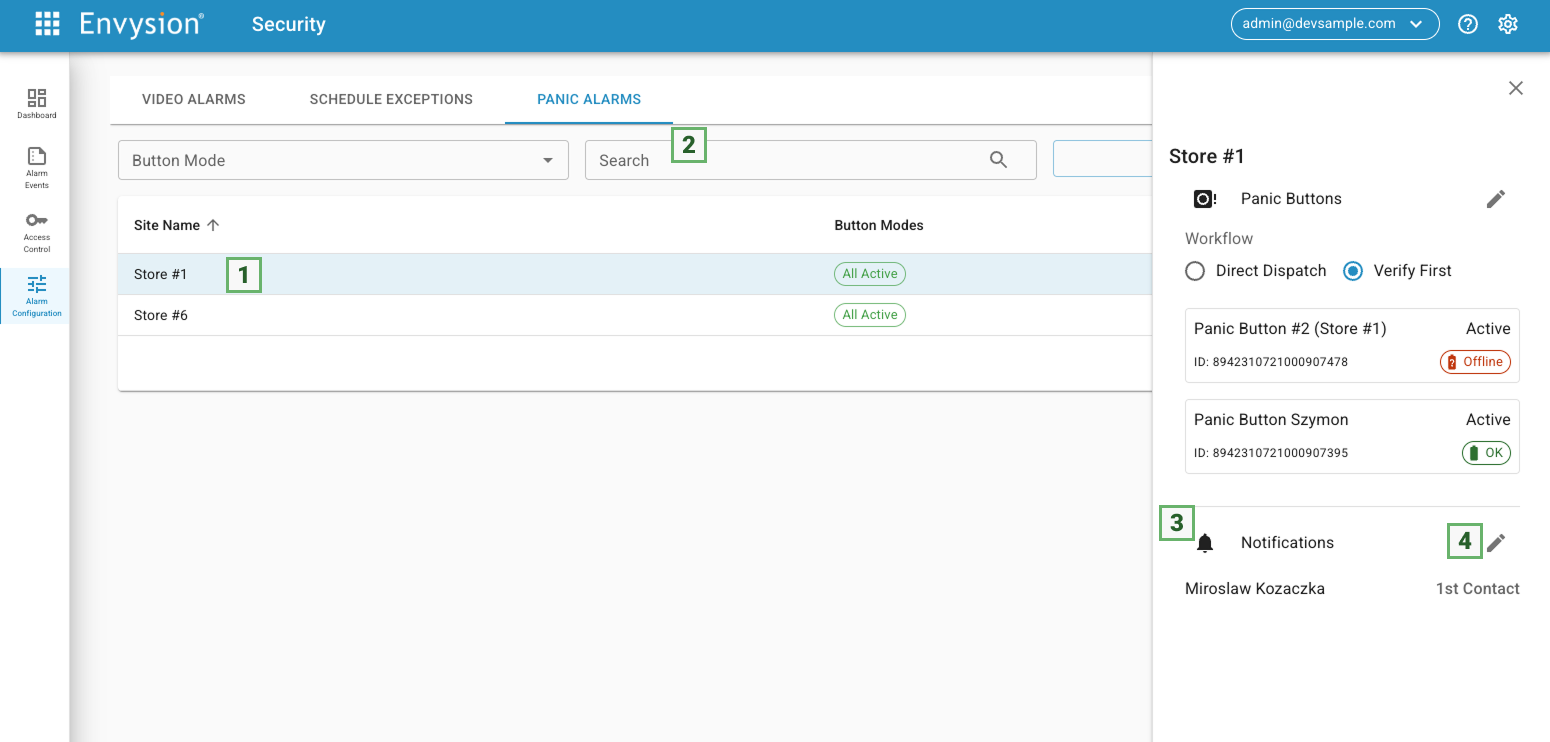
Once you are on the “Panic Alarms” page, select your site from the site list (1). You can also search the site by using the “search” box above (2). Once you find your site and click on it, the configuration drawer will open. Look for the section labeled “Notifications” (3). and click on the “Edit” icon (4).
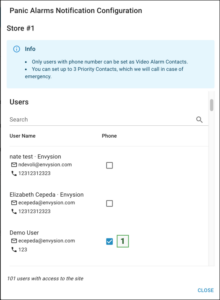
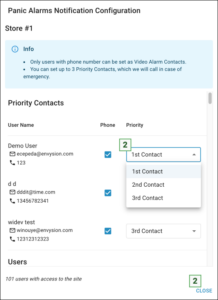
You will now see “Panic Alarms Notification” pop-up, and in it you will see a list with all the users that have access to your site. Now you can select up to three emergency contact by checking the box next to the user’s name (1). Please be aware that only users with phone numbers can be assigned as emergency contacts. The order in which you selected the emergency contacts will define the priority, but this can be changed, if you wish from the dropdown menu adjacent to the designated emergency contacts (2). Once you have all three contacts and their priority setup, you can exit the configuration popup by clicking on the “Close” button (3).
![]()
Now you have your emergency contacts setup and you can move on to the next step.