Administrative User Setup:
Temporary Access
Temporary Access allows you to grant access of this site to another Envysion user in your organization who needs permission for the site for a short period and would otherwise not see the site in the app. Once access is granted that user will have full access to this site, all related cameras, and Events from Watch Video. The user may also see information related to this site in other areas of the app depending on their capabilities.
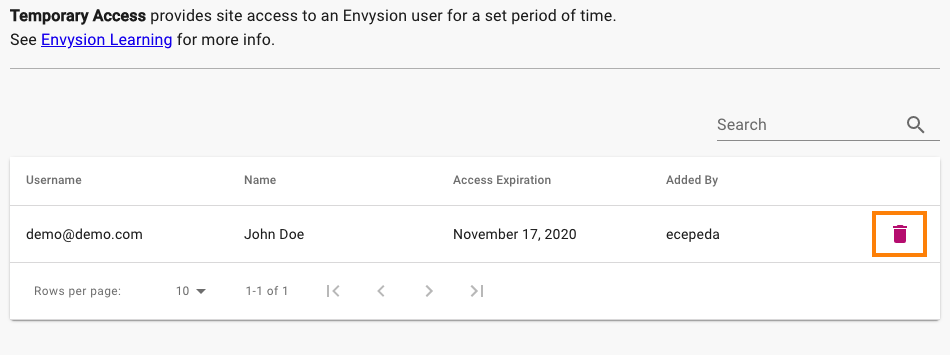
Access provided in this way is limited to a specified number of days with 180 days as the maximum period allowed. Once the access period has expired, that user will no longer be able to view the site or any related data. Access to the site can be ended earlier, if needed, by selecting the Delete icon in the user row to immediately expire access.
Adding Temporary Access to a User
Watch the video or follow the steps outlined below.
- From the Envysion web app go to Watch Video.
- Select the site for which you need to add temporary access.
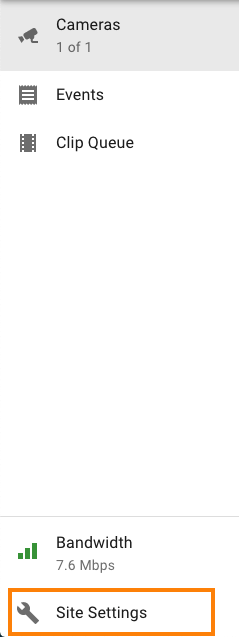
- Select Site Settings from the bottom left of the page.
- Select Temporary Access from the left side menu.
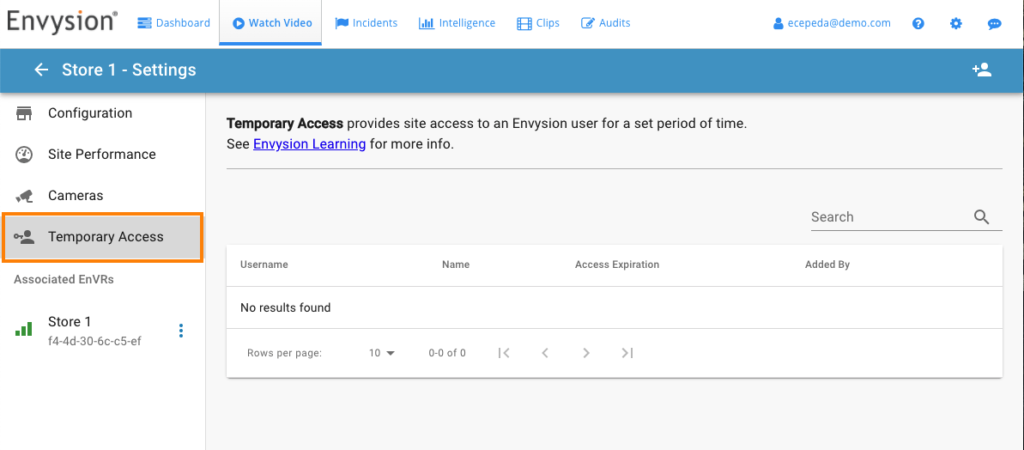
- Option will only show for users with the capability Grant Temporary Access
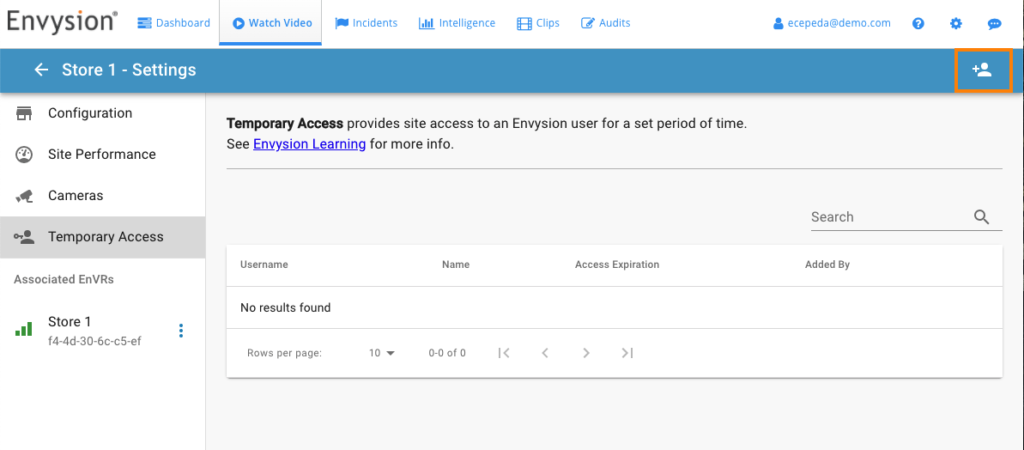
- Select the add button from the top right header.
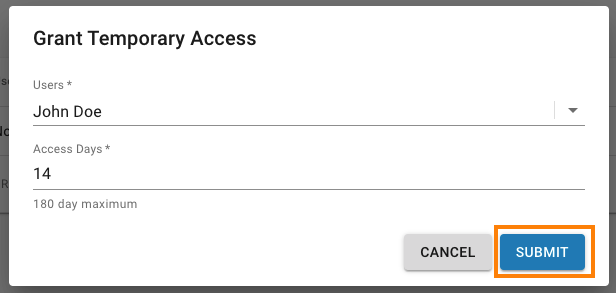
- Enter the name of the person being given access in the User field to narrow down the dropdown and select once the user is located.
- Enter the number of days the user should have access to the site in the Access Days field.
- Select Submit
Removing Temporary Access Early
- From the Envysion web app go to Watch Video.
- Select the site for which you need to add temporary access.
- Select Site Settings from the bottom left of the page.
- Select Temporary Access from the left side menu.
- Option will only show for users with the capability Grant Temporary Access
- Find the user you will be removing access from.
- Use the search or sort by column headers to easy locate the user
- Select the Delete icon at the end of the row for the user.
- Select Remove to confirm.