Watch Video and Events:
Watch Recorded Video on the Web App
Follow the steps below to access Recorded Video in the Envysion Web App.
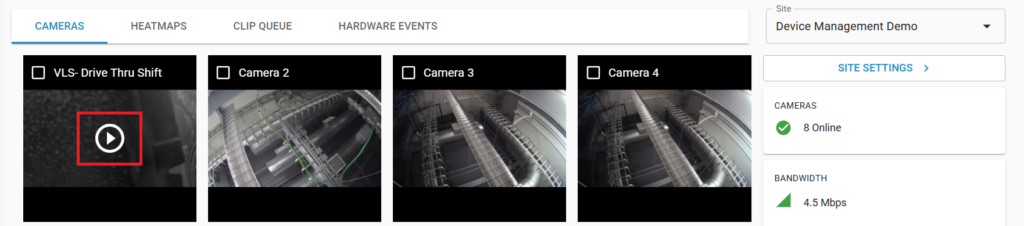
1. In your Home Workspace go to Sites and use the search bar to search for a specific location then click on that location.

2. To view a single camera, play that particular camera by clicking the Play arrow in the center of the image of the camera. To return, click the Back arrow to the left of the site name.
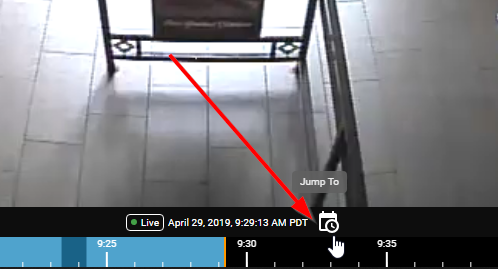
3. As you can see from the bottom of your screen, just above the timeline, you are viewing live video.

4. Put your cursor on the timeline at the bottom of the screen, click and drag to the right to view video from earlier in the day. Pull it left to advance towards the current live video time. Thumbnail images will appear as you scroll so that you can quickly navigate to what you are looking for.

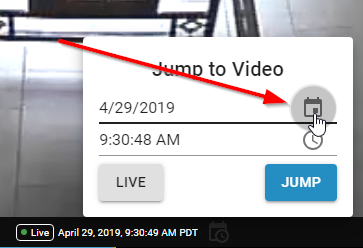
5. To jump to a different day and time, choose the “Jump To” icon, located at the bottom in the center of your screen, just above the timeline.
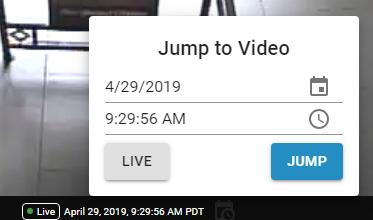
6. Select the date by clicking on the calendar icon and choose a specific date.

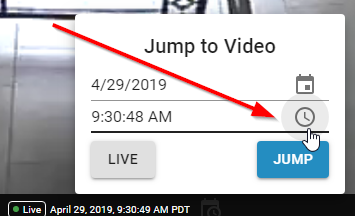
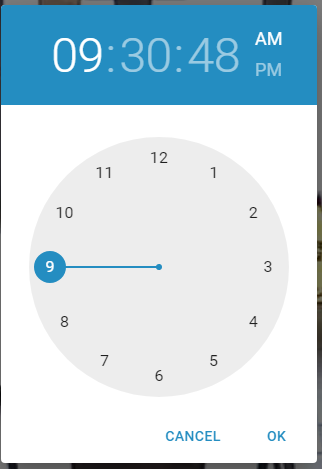
7. Select the time by clicking on the clock icon, edit the hour, minutes, and seconds then choose AM or PM and click OK.
8. Click on Jump.
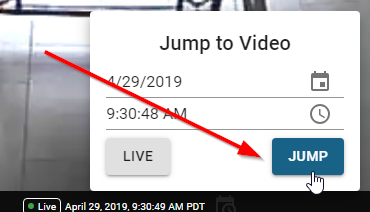
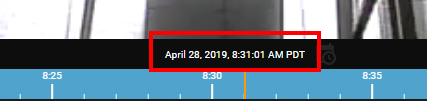
9. You are no longer viewing live video; instead, you see the date and time of the recorded video you have selected.
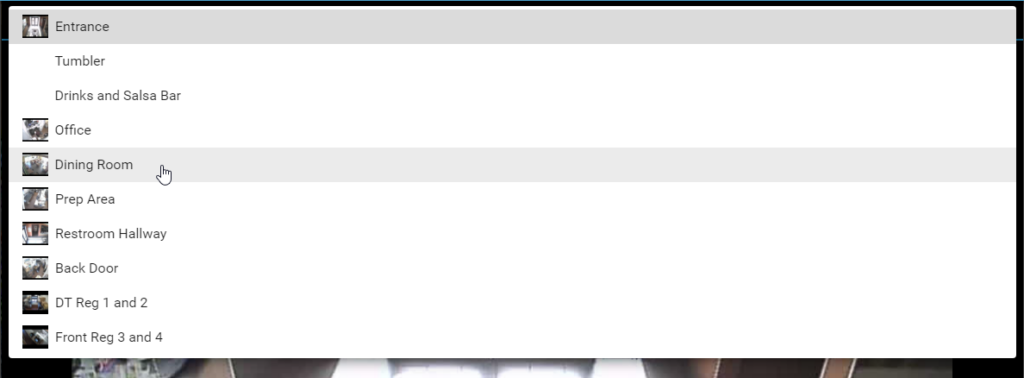
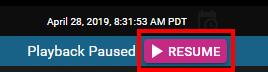
10. To choose a different camera, click on the drop-down arrow in the upper right-hand corner of the video player. Choose a different camera. From the bottom of the screen, click Resume.

11. Use the timeline to view recorded video from earlier or later on this particular day, clicking the Play arrow to restart the video as needed.

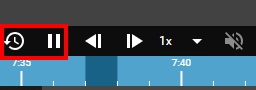
On the toolbar in the lower left of your screen, you will find the following features which are activated when applicable:
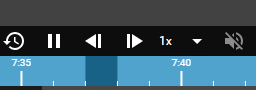
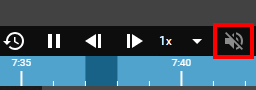
Volume: Video defaults to muted if the camera is equipped with audio, if the camera is not equipped with audio, you will see “Audio not available for this camera view.”
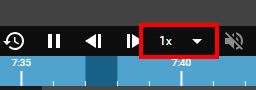
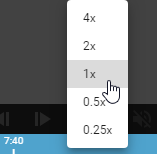
Playback rate: Choose to slow down your viewing to quarter or half speed, or speed your viewing to 2x or 4x normal speed.
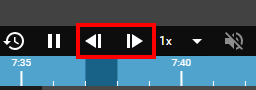
Step Back and Step Forward: Step forward frame by frame, or step back frame by frame. All actions are available during frame by frame, including snapshot, save a clip and motion search.
Pause, Play, and Jump Back 15 seconds at a time.
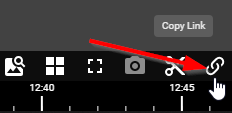
On the toolbar in the lower right of your screen are the following features which are covered in other Learning pages. Here’s a fast guide to them:
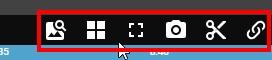
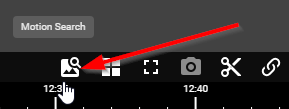
Motion Search: Use Motion Masking to quickly navigate specific areas of motion in recorded video.
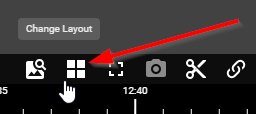
Change Layout: Change how many cameras are on the screen.
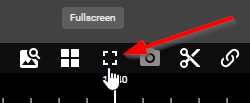
Fullscreen: Enlarge the image on your screen.
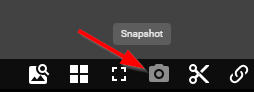
Snapshot: Save a still image from the video.
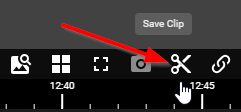
Save Clip: Save a section of recorded video.
Copy Link: Create a link to the recorded video for sharing.