Device Management:
Configuring Analog Audio Channels
The implementation of audio channel to video mapping now handles the differences between EnVR and 3rd-Party DVR configuration well. Based on the hardware onsite we have separated the capabilities to make managing audio much more streamlined.
Setting up Analog Audio Channels on an EnVR
- Sign into the Envysion web app and navigate to Site Settings on the Right of the Site page.
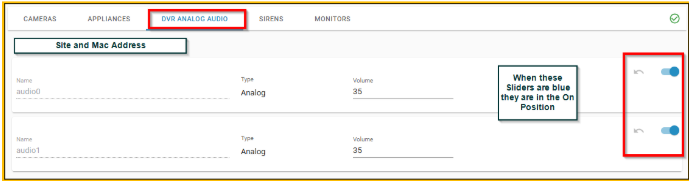
- Within Devices, click on the DVR Analog Audio make sure that the sliders are to the right.
- You cannot be using both “In Camera” audio and Analog audio channels at the same time, on the same camera, so make sure in the camera channel that you are not activating the Record Audio Slider.
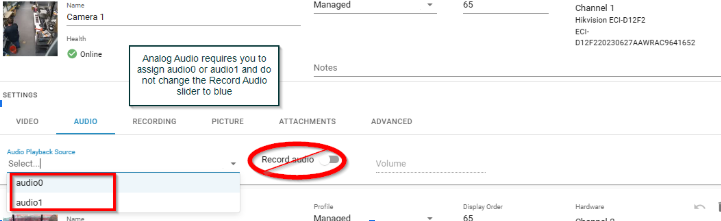
- Go into the Cameras and select the audio channel to associate with the camera.
- Note: Because EnVRs are more flexible with regards to assigning analog audio channels to any available video channel, the DVR Analog Audio tab is available to manage turning on and off analog audio and set the Gain.
- Select audio channel(s) to be enabled and click the Save button to apply the updates.
- You may also choose to update the Audio Channel Name and Gain.
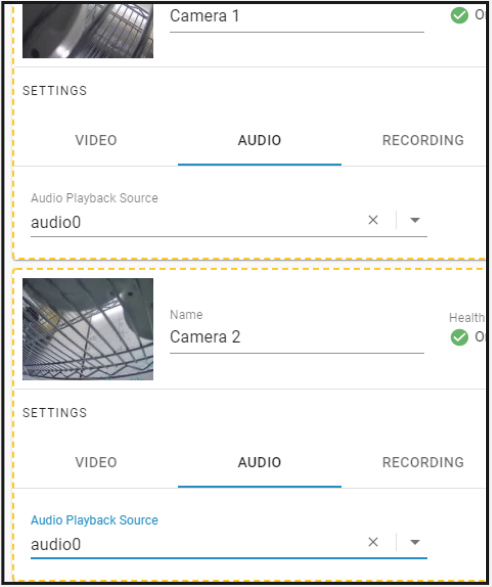
- After saving the analog channels, navigate back to the Cameras screen.
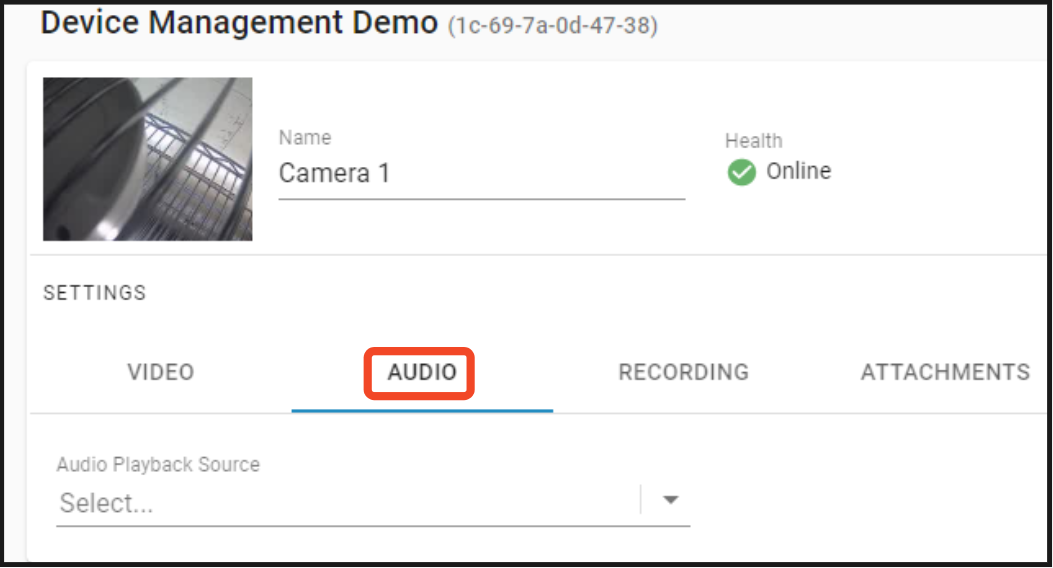
- Open on the settings menu under an individual camera and click on the Audio tab
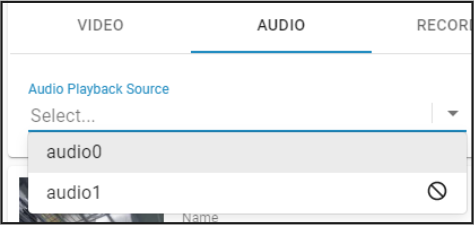
- From here, click on the dropdown to view a list of audio channels and select the audio channel you want sync to that camera and then click save.
- Note: EnVRs make it possible to set analog audio channels to multiple cameras.
- Setting up Analog Audio Channels on a 3rd-Party DVR
- 3rd-Party DVRs require the audio channel to be set up on a single camera which eliminates the need for the DVR Analog Audio tab. User will enable and disable the audio channel from the Audio tab under Camera Settings.
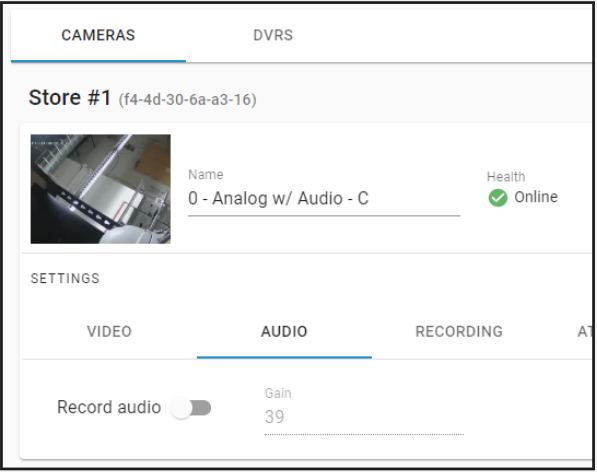
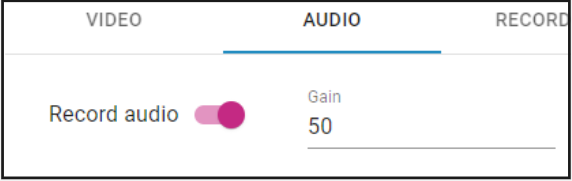
- Slide the toggle switch on Record Audio to enable and disable the audio channel, set the Gain, and save your updates.
- Note: Analog channels only exist on the first 4 camera channels and need to be configured correctly into the 3rd-Party DVR to be correctly displayed in the UI. If you are not seeing an expected audio channel, please contact support.
Was this post helpful?
Let us know if you liked the post. That’s the only way we can improve.